SELECT | CHAPTER


Solutions for Chapter 3: High Flying.
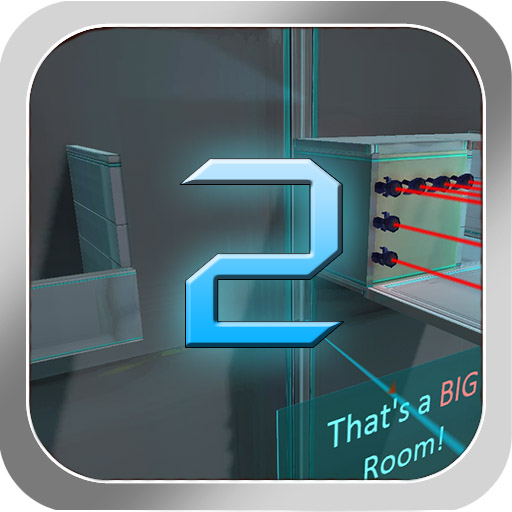
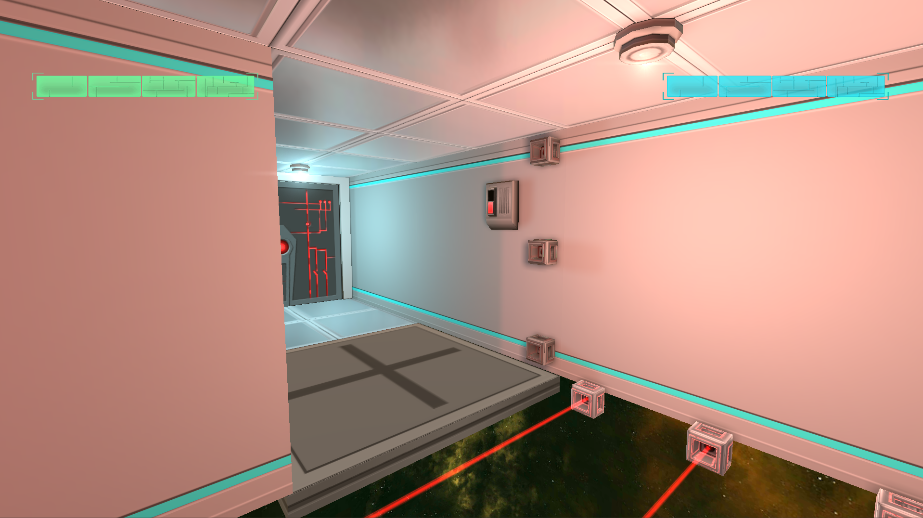

1) TIMED | BOXES

First, you need to get the 2 boxes from both timed boxes – be careful to not stay trapped inside them! Then, you must drop both boxes on the pressure plates to open the center door.
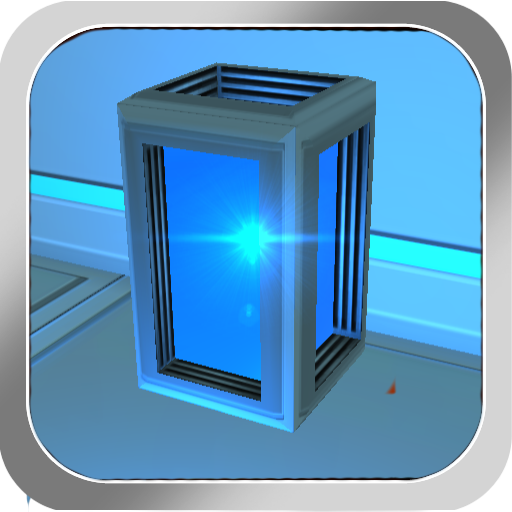
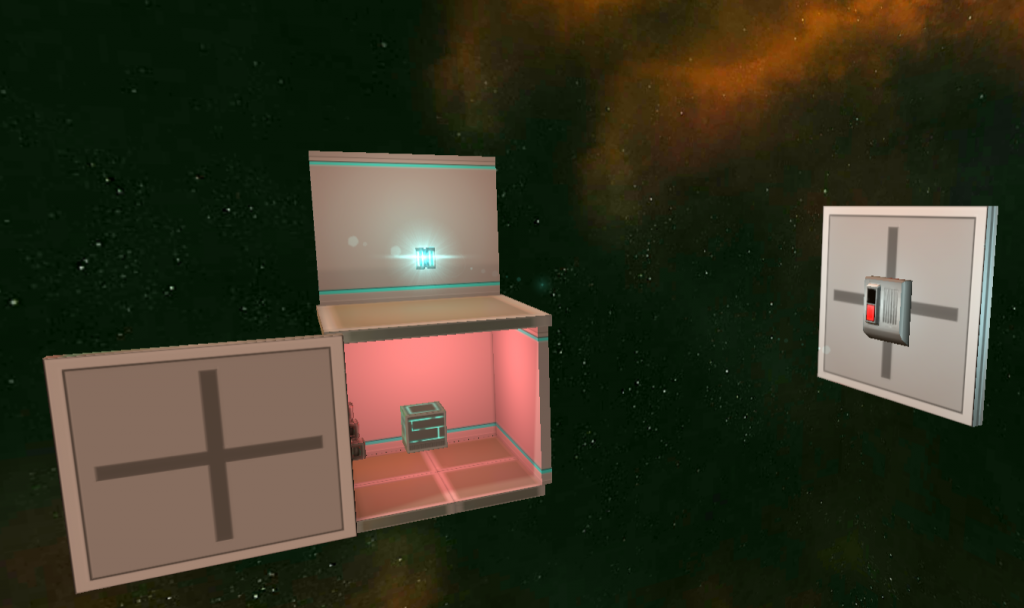
1.1) LEFT | BOX

There is a box hidden inside the timed box located on your left:
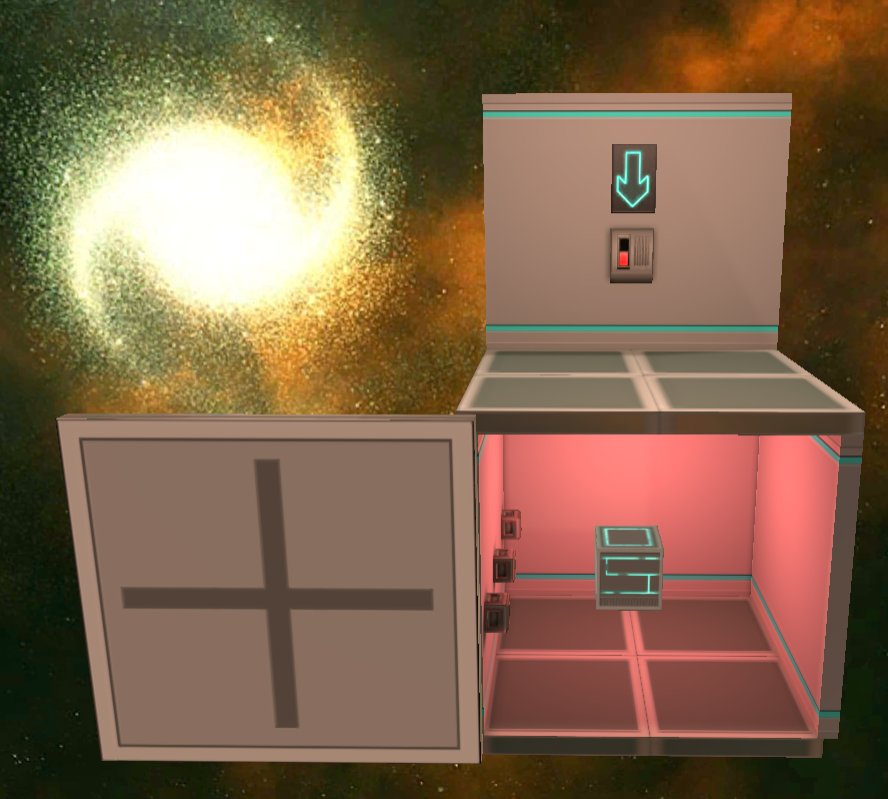
Spoiler:
  1. Shoot the button attached to the moving platform, in front of you, slightly to the left:
  1. Rush inside the left box that will open
  2. Grab the box
  3. Move backwards, fast, to get out!
  4. Drop the box on the first pressure plate

1.2) RIGHT | BOX

There is a second box hidden inside the timed box located on your right:
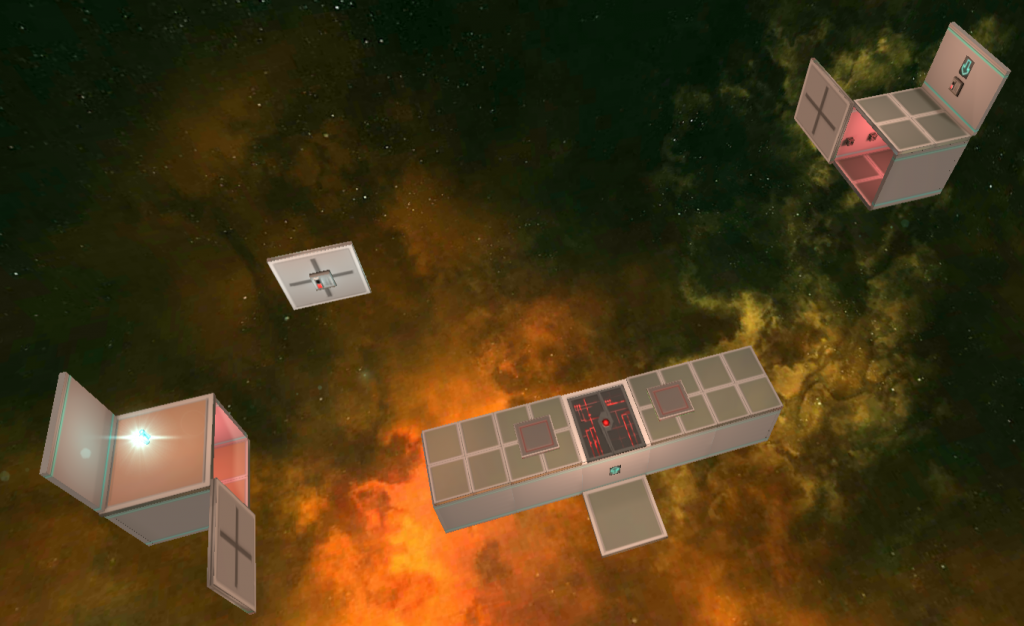
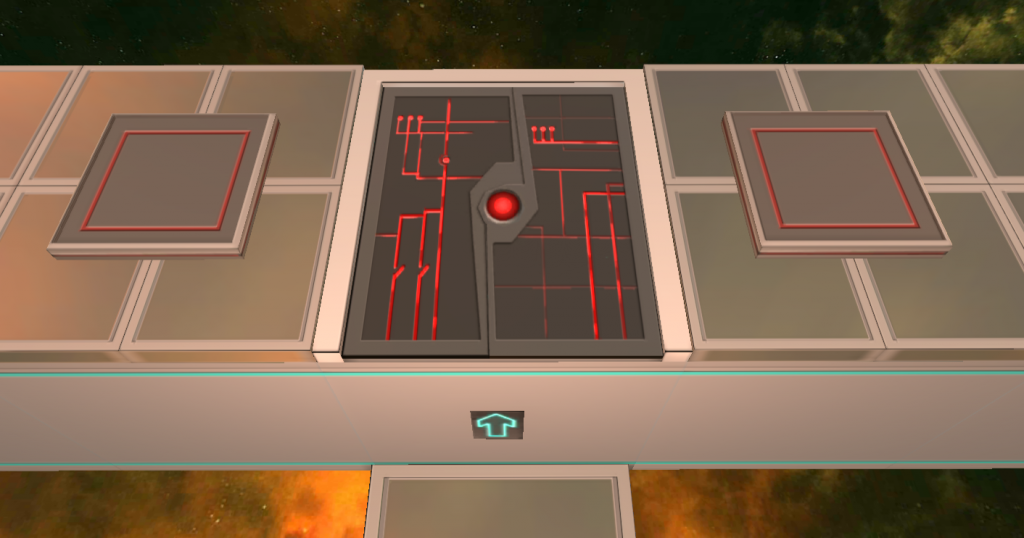
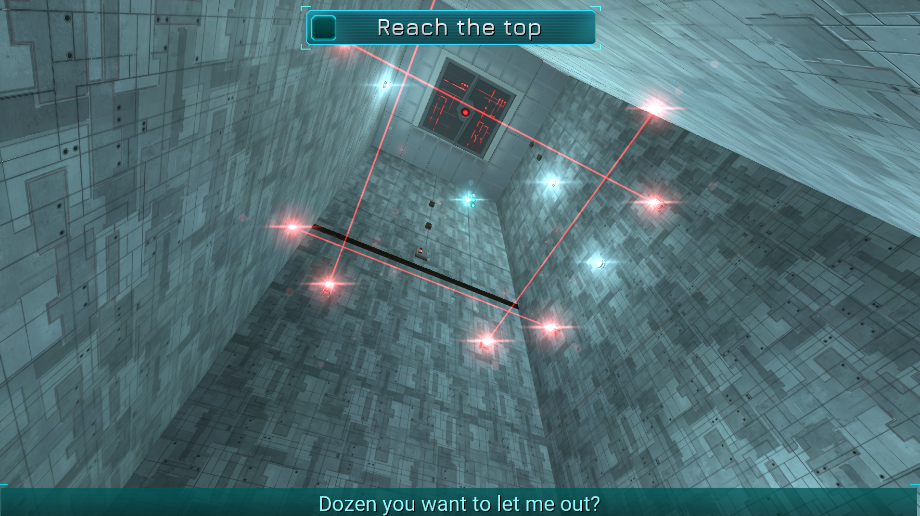
Spoiler:
  1. Shoot the button located above the timed box on the right
  2. Rush inside the right box that will open
  3. Grab the box
  4. Move backwards, fast, to get out!
  5. Drop the box on the second pressure plate

1.3) DROP | DOWN

After dropping both boxes on the pressure plates, the center door will open. You can now drop down the door:
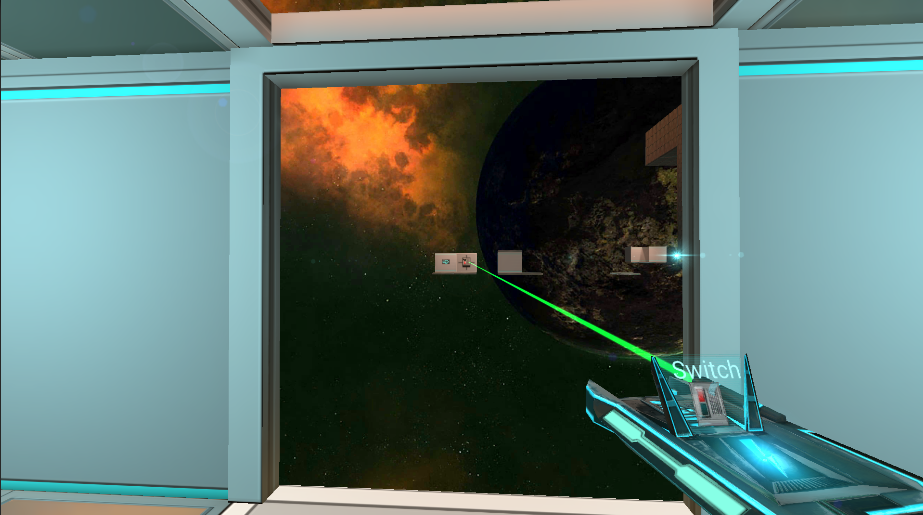
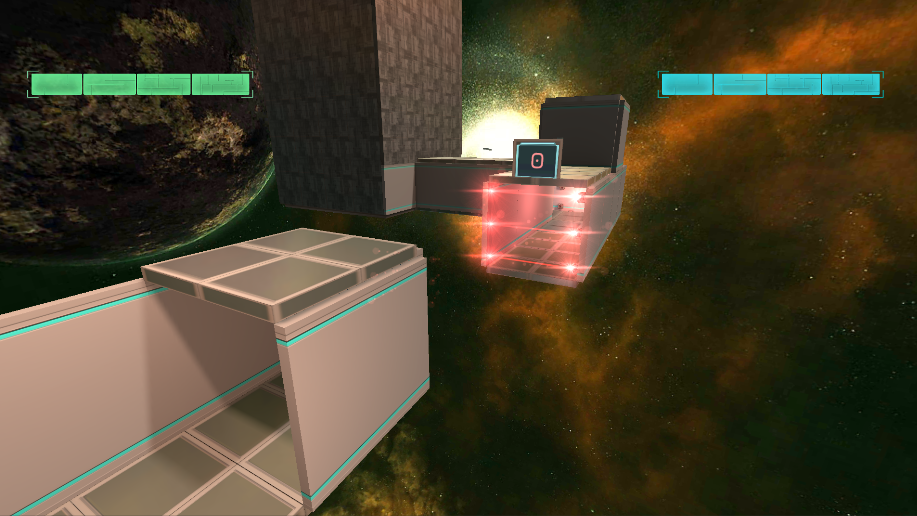
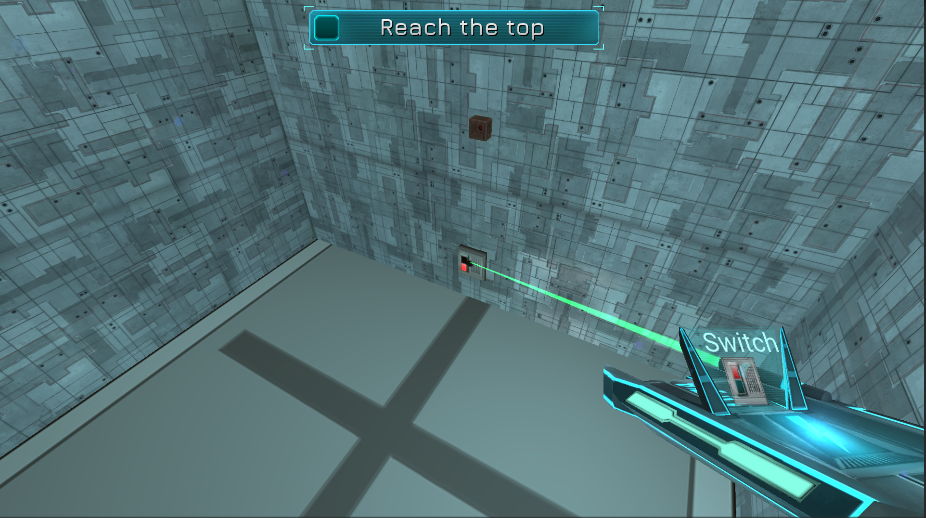
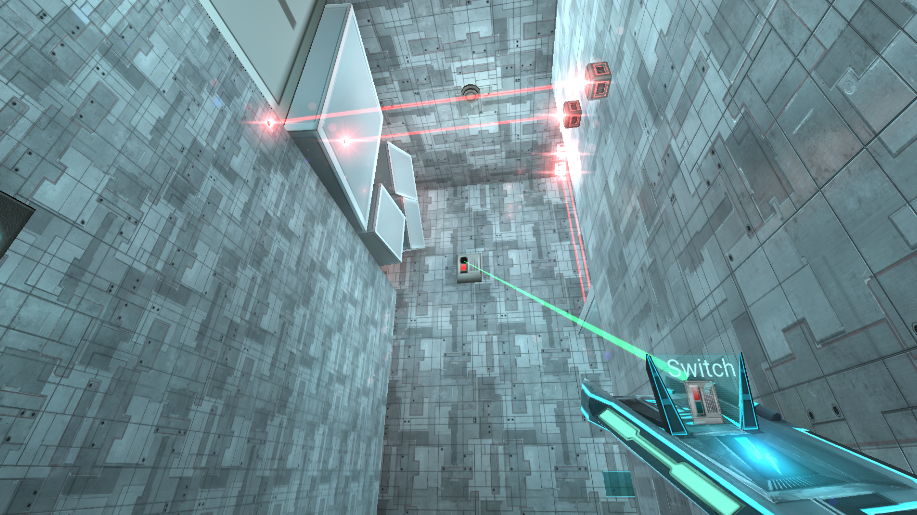


2) LONG | SHOT

Now, you must shoot at the button far away, attached to the moving platform in front of you:
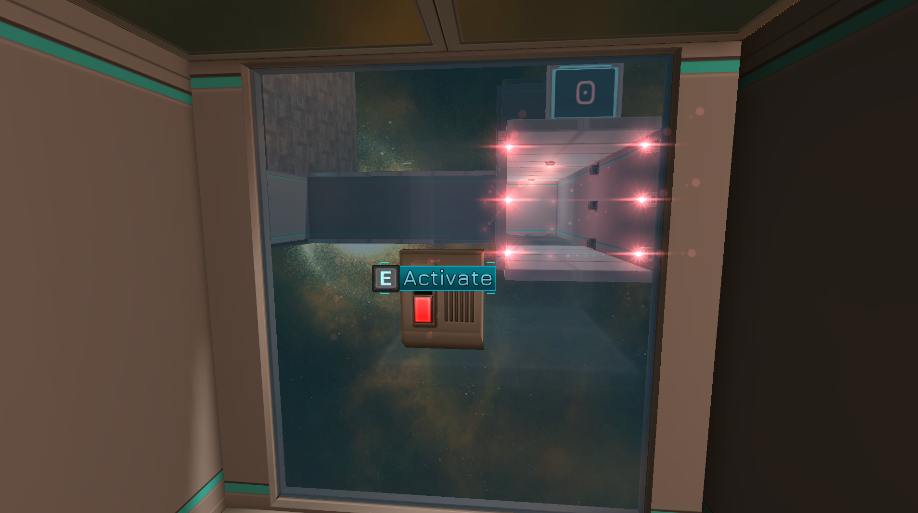
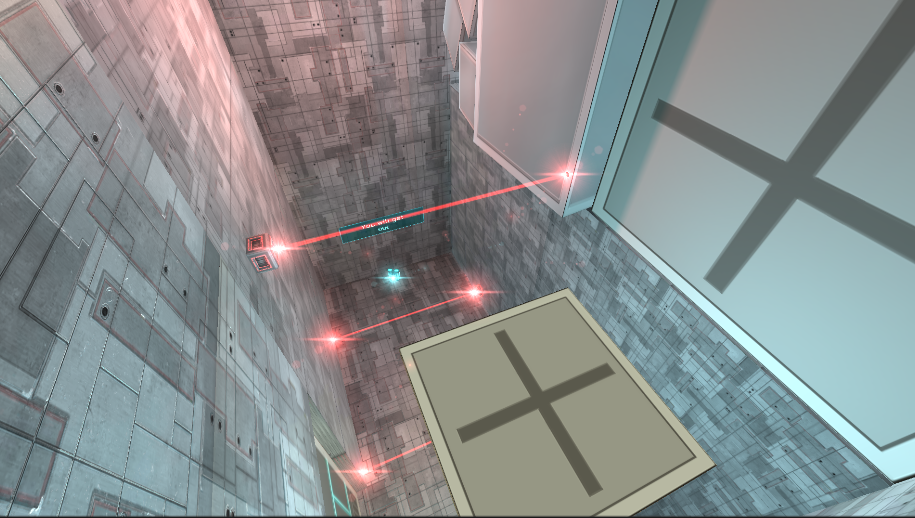
Spoiler:
  • Shoot at the button as shown above. The platform below you will start moving and bring you to the next section.


3) TIMED | LASERS

In this area, you need to activate the button to disable lasers temporarily, and get past them:

Spoiler:
  1. Activate the button next to the window and the moving platform
  2. Lasers will be disabled
  3. Get out of here
  4. Enter the corridor with your jetpack and get past the disabled lasers


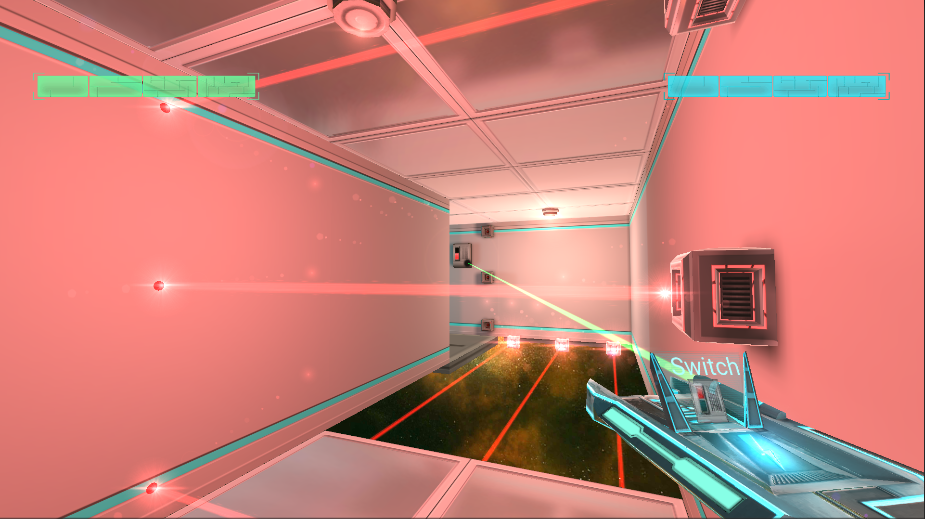
4) ALTERNATING | LASERS

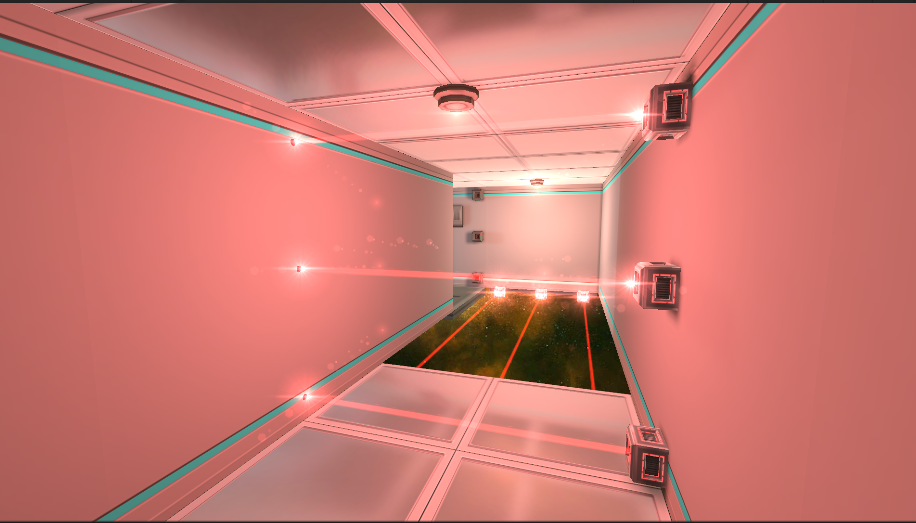
Just after getting past the disabled lasers, you will face newly activated lasers. Here, you need to:

Spoiler:
  1. Shoot the button (shown above) in front of you, at an angle slightly to your left
  2. This will disable the lasers in front of you, but will enable lasers further away
  3. Move forward, past those newly disabled lasers
  4. Shoot the button again
  5. You can now use your jetpack to get past the disabled lasers:


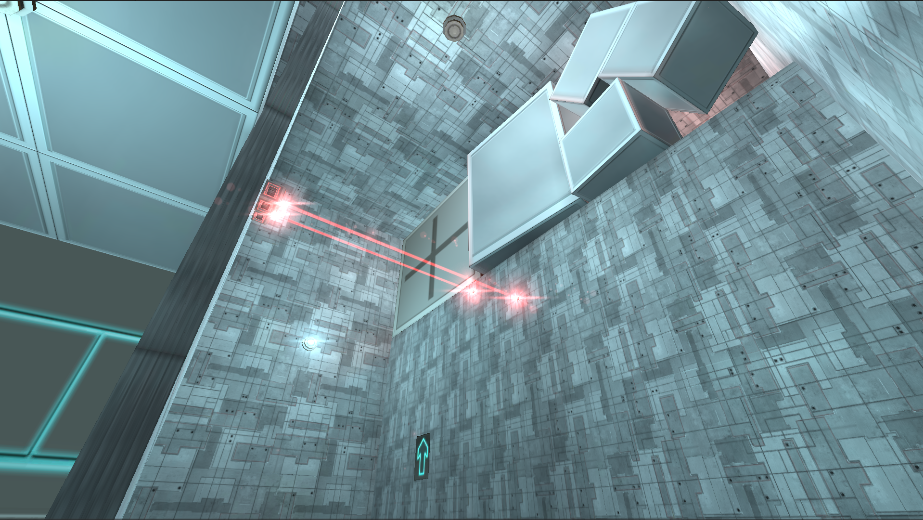
5) VERTICAL | CORRIDOR

In this room, you have 2 large moving platforms – one vertical (first one) and one horizontal (second one):

Spoiler:
  • First, use your jetpack to get high up higher than the horizontal moving platform
  • When you have past the horizontal moving platform, you will find a button to activate below you. This button will stop the horizontal moving platform where it currently is:
  1. Shoot the button, preferably when the horizontal moving platform is visible enough to be easily landed on.
  2. Land on stopped horizontal moving platform to catch your breath
  3. Now, the large door above you is open – but many new lasers are activated
  4. Study lasers movement and use your jetpack to get past them and reach the top of the room


6) LOCKER | ROOM

First, you need to time your movement right to get past the first smasher, then jump over the lasers just behind it. You will then reach the “Locker Room”.

In this room, you will need to find a button to lift up the moving platform.


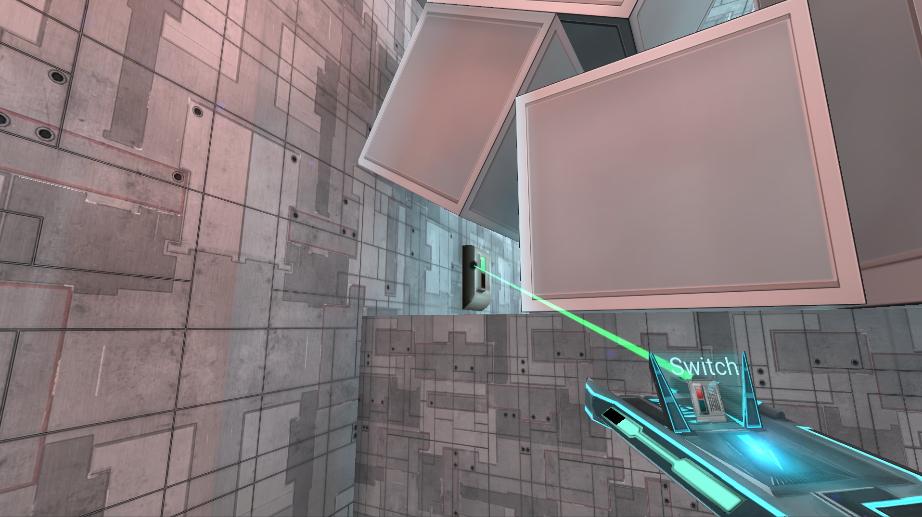
6.1 TIMED | PLATFORM

You can find the first button to lift up the moving platform here:

Spoiler:

  • Look above, to your right as you enter: you will find a button:
  1. Shoot at this button
  2. A moving platform, next to the ceiling will open – go through it using you jetpack, fast!


You now have reached the second part of this room.


6.2 TIMED | SMASHER

You must now shoot the same button you previously used, a second time, to lift up the Smasher:

Spoiler:

  1. Stand on the far edge of the moving platform
  2. It will bring you at an angle in which you can shoot the button through the crates:


SELECT | CHAPTER