SELECT | CHAPTER


Solutions for Chapter 1: Discovery
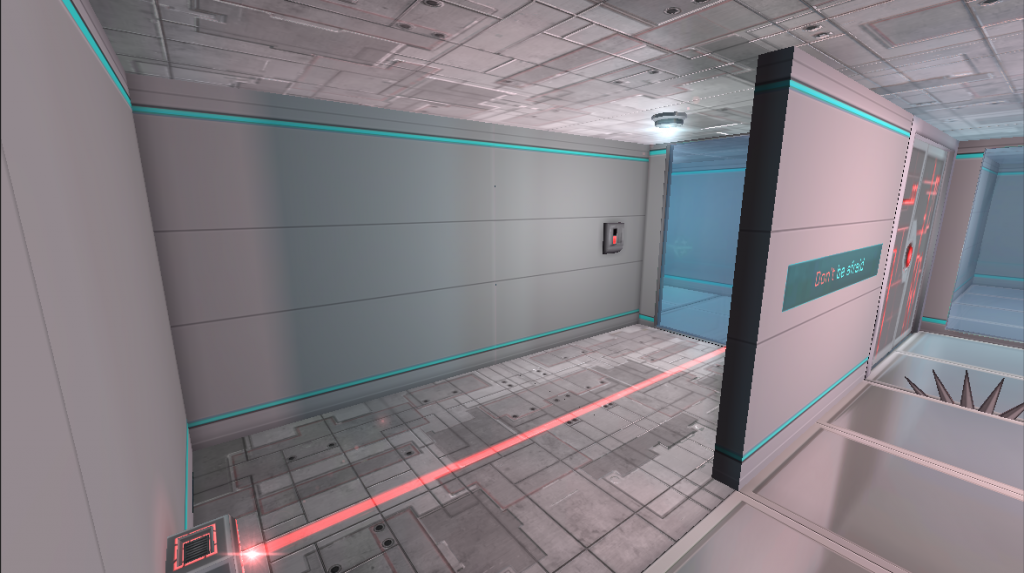
1) FIRST | ROOM

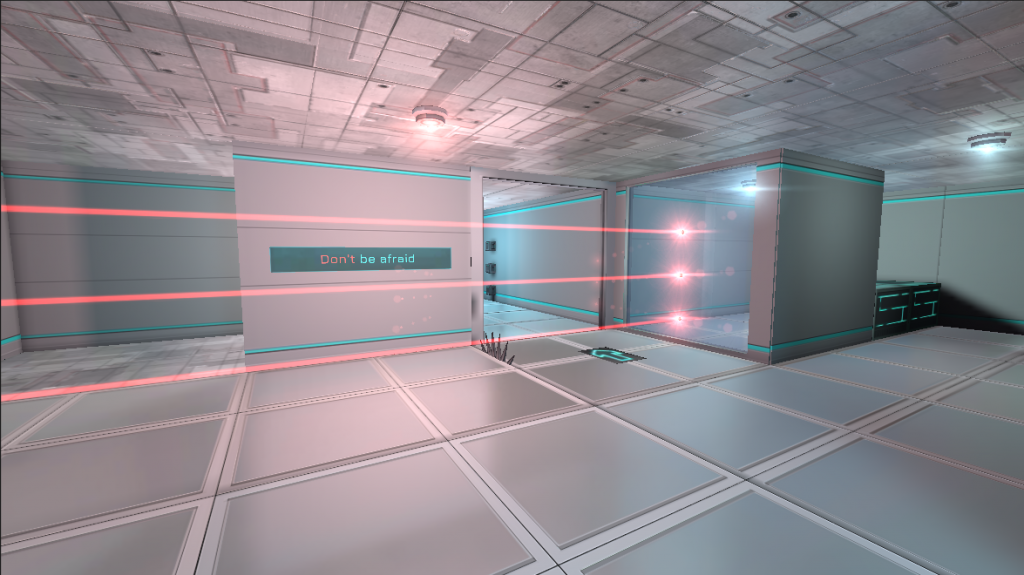
The first room with the “Don’t be afraid” message. Click the Spoilers below to know how to solve it:

Spoiler:

  1. First, go the the right, and jump over the boxes
  2. You will find a button behind the glass (where the 3 lasers end)
  3. Activate this button: it will disable the 3 lasers, but activate another one and close the door:
  • Can’t find what to do next? Check the Spoiler below

Spoiler:

  • You can now go to the left side of the room, and activate the newly accessible button (be careful to jump over the newly active laser!):
  • This will open the door, but activate a saw
  • Go through the newly open door while avoiding the saw!


2) 1… 2… | SLICE!

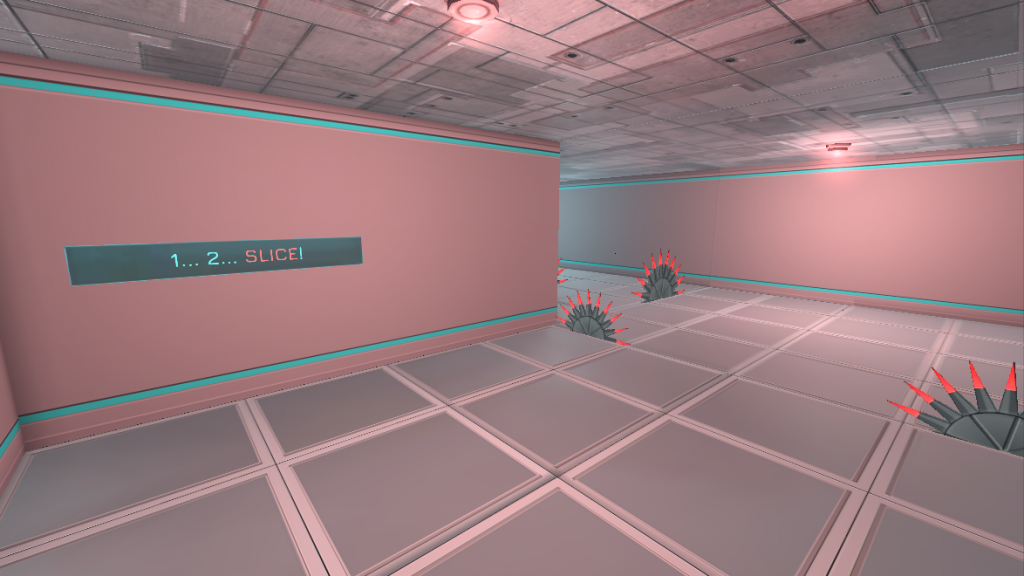
In this room, you’ll need to:

Spoiler:

  • Get passed the saws
  • The door will close as you approach it
  • Can’t find how to open it? Check Spoiler below!

Spoiler:

  • After the door has closed, go to the left
  • You’ll find a first button to activate. This will disable the lasers and deploy the Bridge, that will protect you from the moving laser:
  • You can now cross the bridge and reach the second button to activate. This button will open the exit door that was previously closed, and you can now get through:


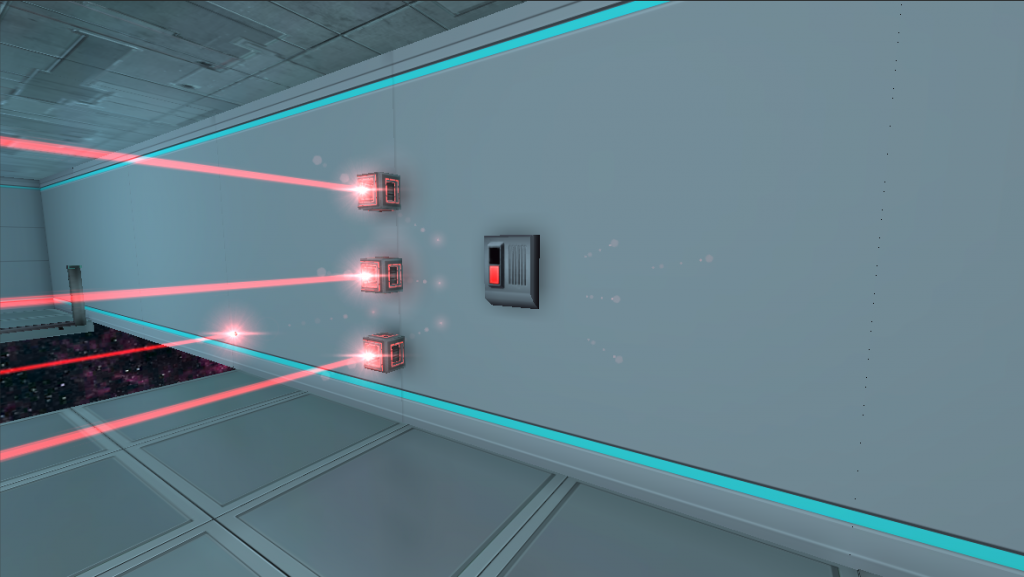
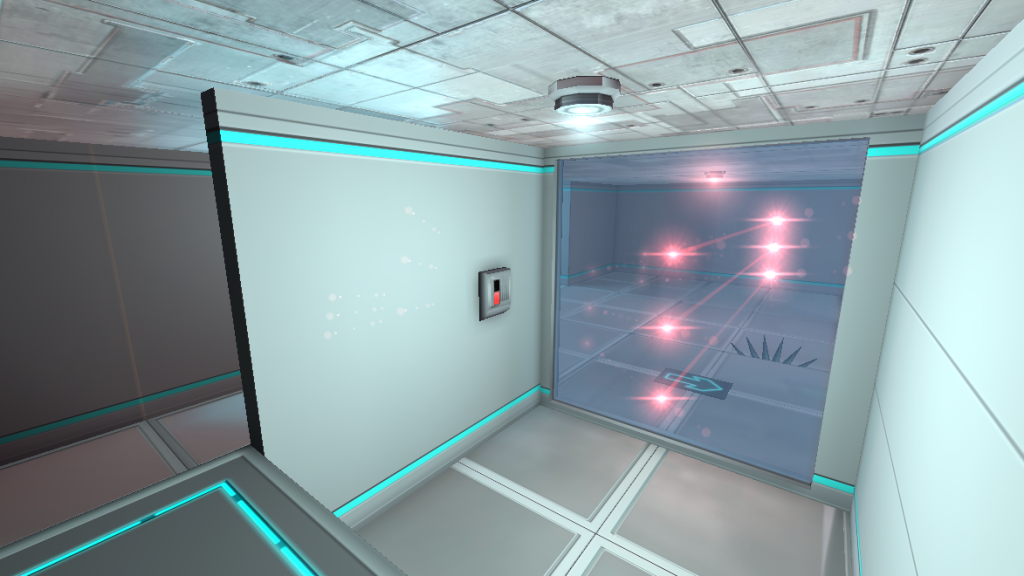
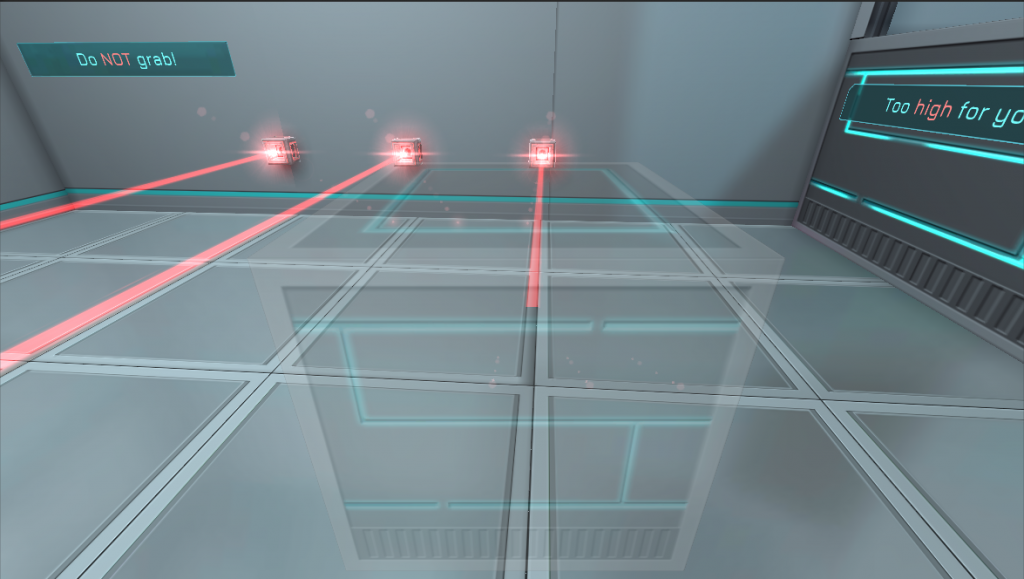
3) FIRST BOX | LASERS

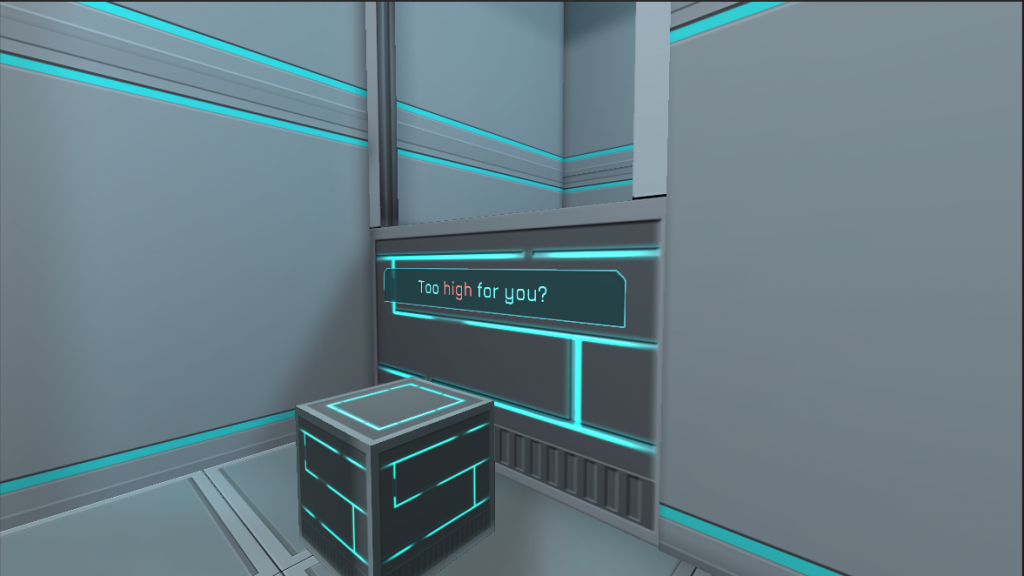
This is the very first room where you will find a box. If you cannot find what to do to get past these lasers, check the Spoiler below:

Spoiler:

  • HINT: Pick up the box, and face the lasers. Move to the right, while still looking at the lasers to protect yourself.


When you are past these lasers, you’ll need to reach the door. Can’t figure out how to get there? Check the Spoiler below!

Spoiler:

  • HINT: Drop the box, and use it as a step! You can then jump on it and jump to reach the door!


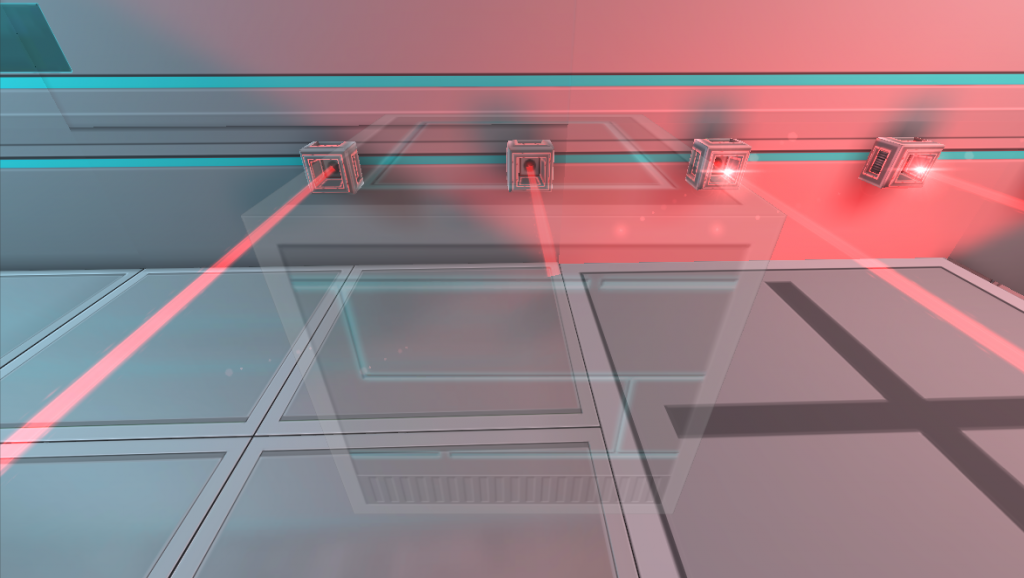
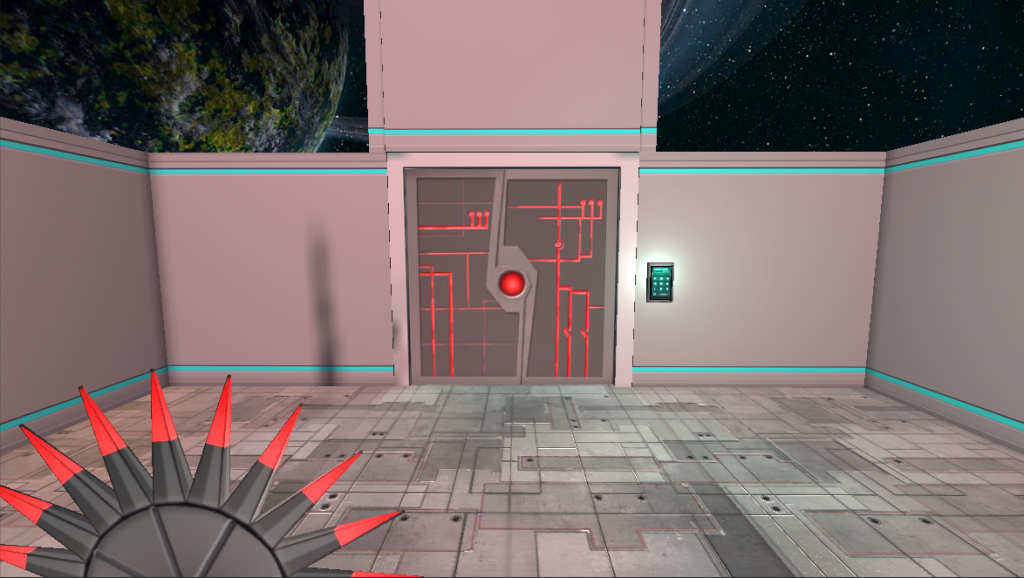
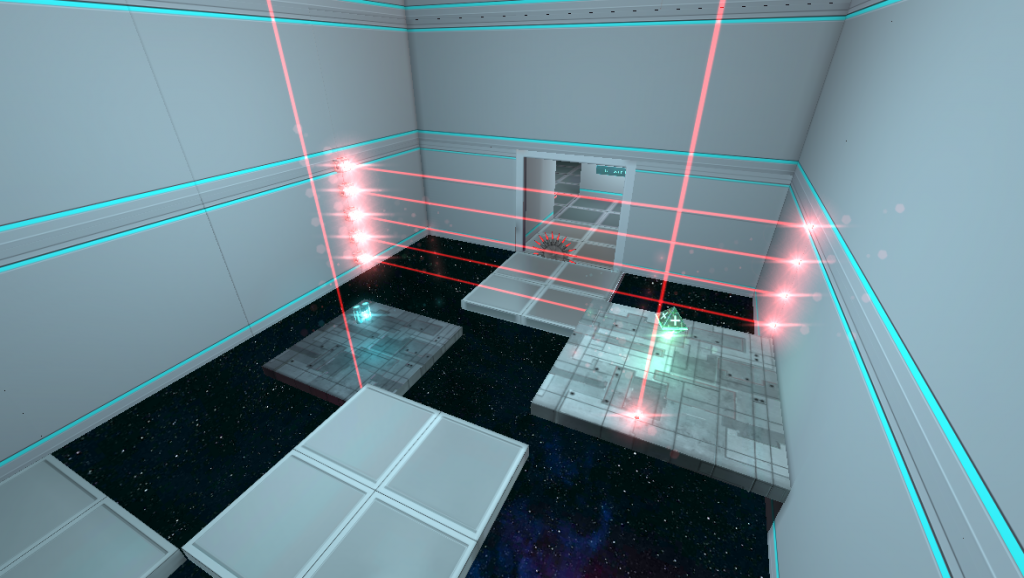
4) TWO BOXES | LASERS

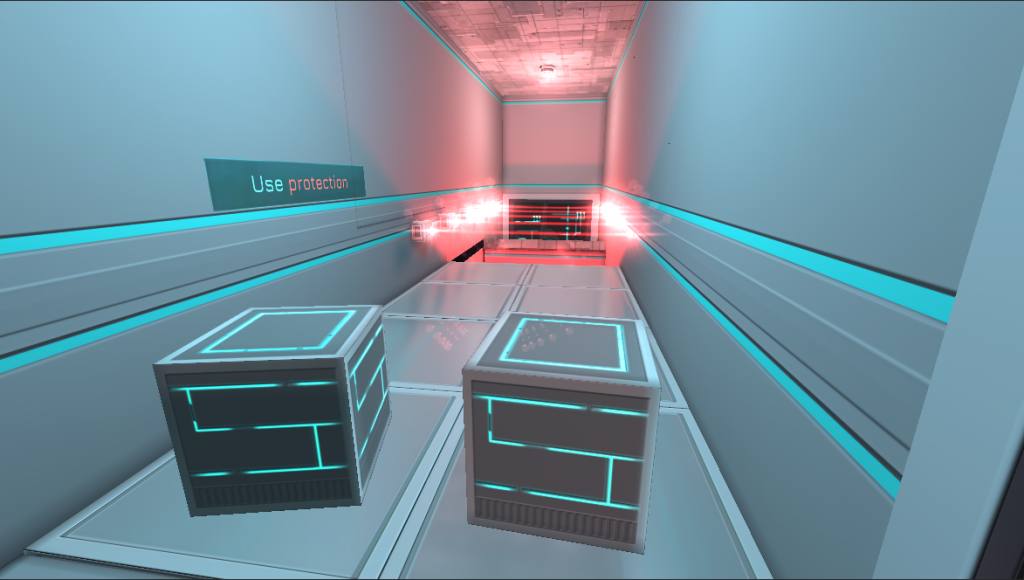
Here, you’ll find two boxes, many lasers and a moving platform. If you can’t find what to do, check the Spoiler below:

Spoiler:

  • Just like the previous room, you need to pick up a box and face the lasers while moving to the right, in order to remain protected:


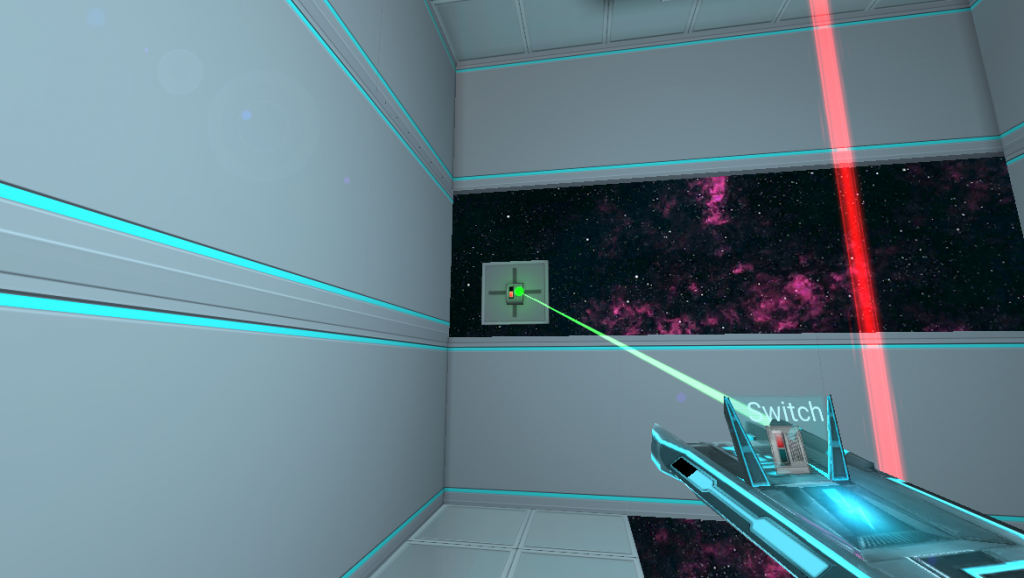
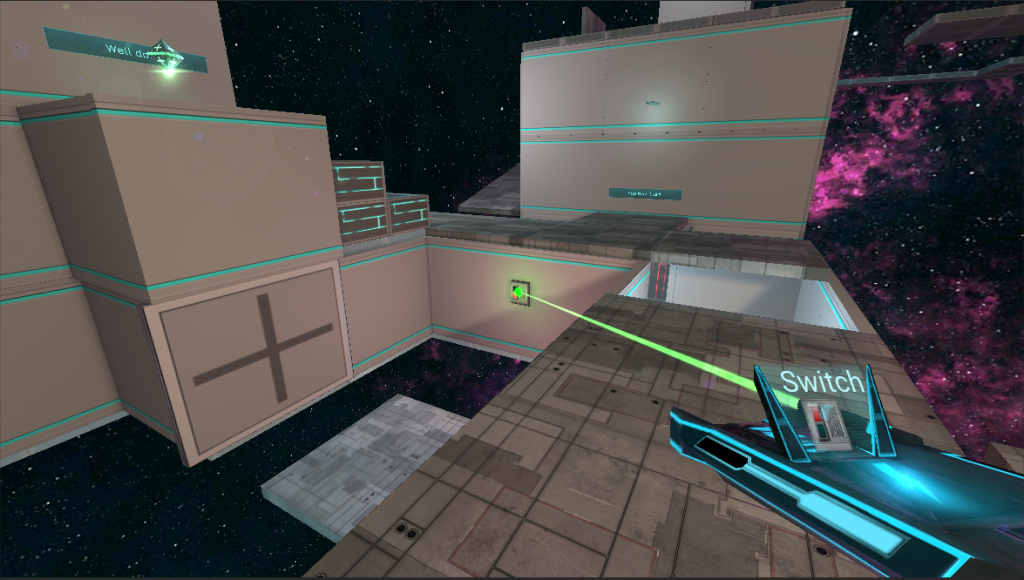
5) PRESSURE | PLATES

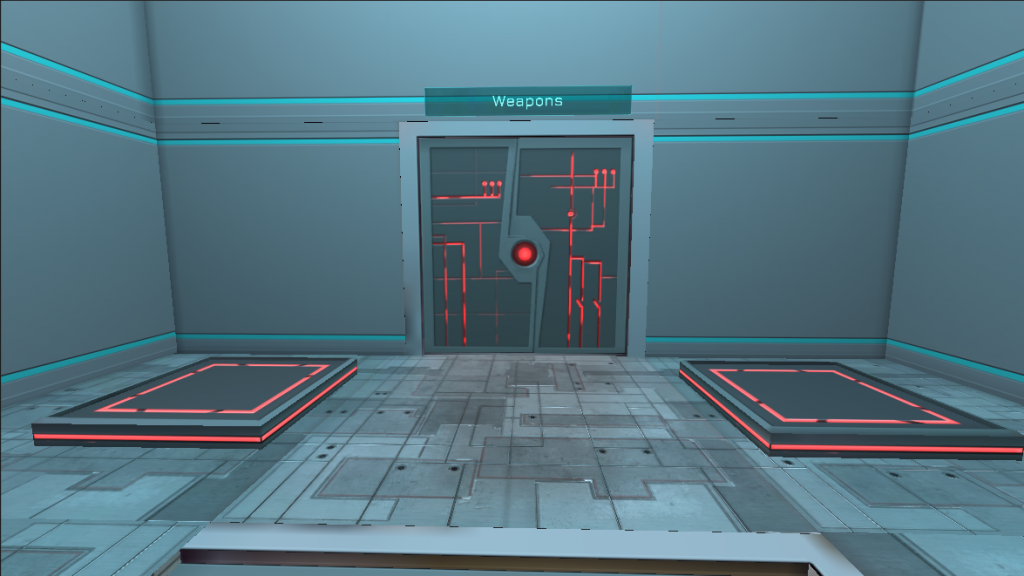
Here you’ll find 2 pressure plates; you need to drop a box on each of them. Don’t know how to do this? Check the Spoiler below!
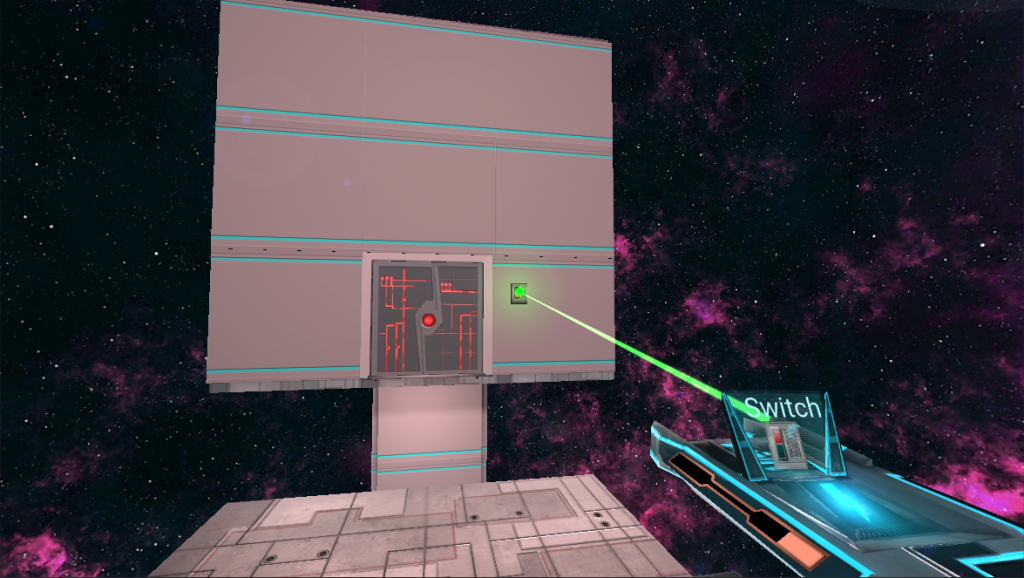
Spoiler:

  • You must have come here with a cube in your hands already. Drop it on the first pressure plate.
  • Return to the area you came from, some lasers are now disabled to make it easier
  • Get the second cube
  • Drop it on the second pressure plate


6) TASER | CODE

The Taser-Gun door closes when you approach it.
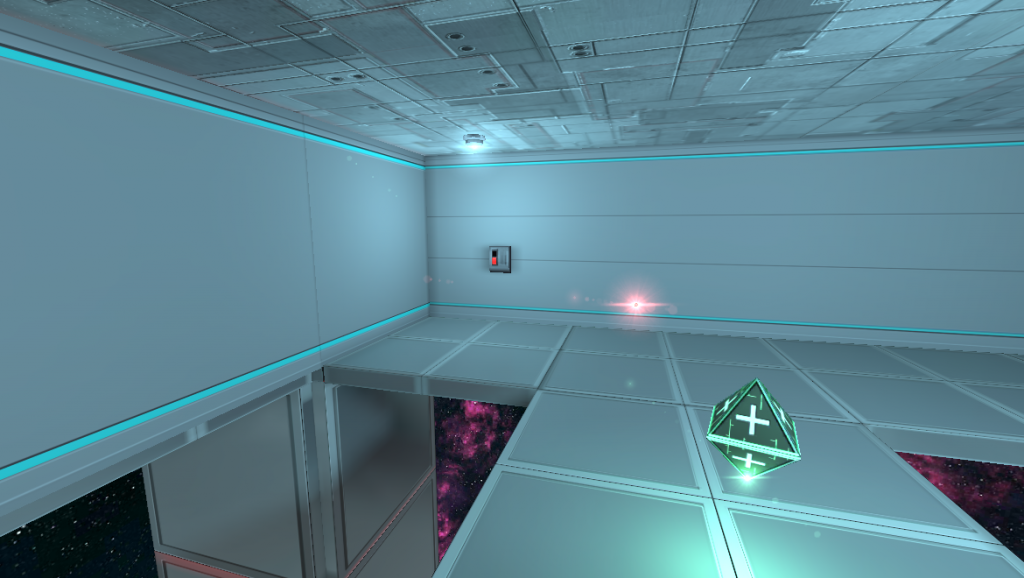
Spoiler:

  • HINT 1: Look behind you when the door to the Taser-Gun has been closed. You will find a maths problem to solve
  • Can’t solve it? Code shown in Spoiler below!

Spoiler:

  • HINT 2: The code is 6984


7) FIND | ENERGY

Now you’ll need to return back from where you came from to find an Ammo Pack for your Taser. If you can’t find it, check the Spoiler below:

Spoiler:

  • HINT1: First, shoot the button to deploy the bridge and return to the previous room:

Spoiler:

  • HINT 2: Then, you need to use a box from the pressure plates to reach the Taser Ammo Pack, then shoot the button attached to the moving platform (left in screenshot)


8) DANGEROUS | ROOM

After dropping down and activating the button inside the vertical tunnel, you’ll drop in the Dangerous Room. If you can’t find how to solve it, check the Spoiler below:

Spoiler:

  • Look behind you, you’ll find a moving platform with a button attached to it:
  • Shoot the button: it will disable lasers, but close the door
  • Now, move closer to the door, get past the lasers (now off) – be careful of the saw!
  • When you are next to the door, shoot the switch on the moving platform again: it will open the door and re-activate the lasers
  • You can now go through the door


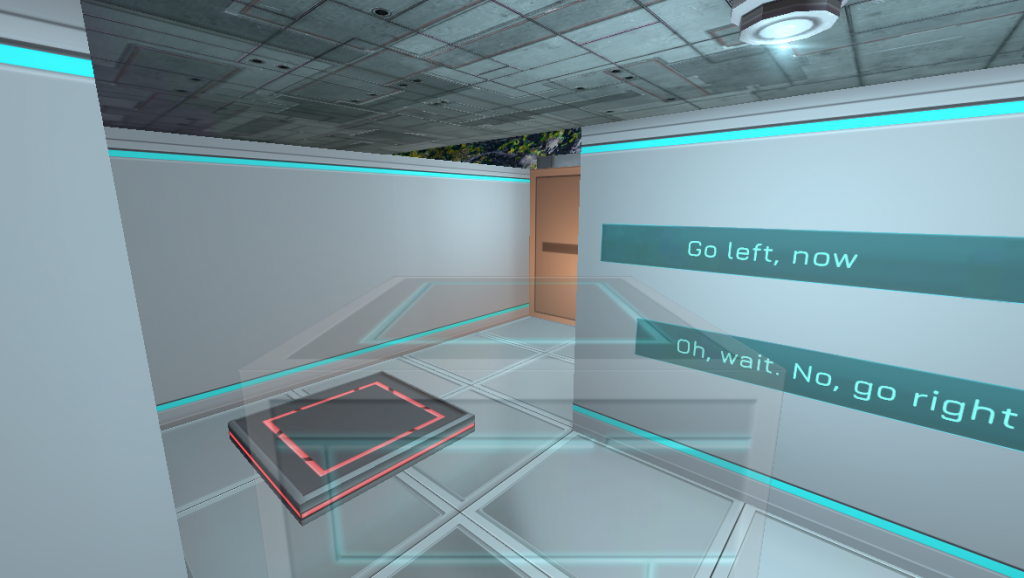
9) GO LEFT | GO RIGHT

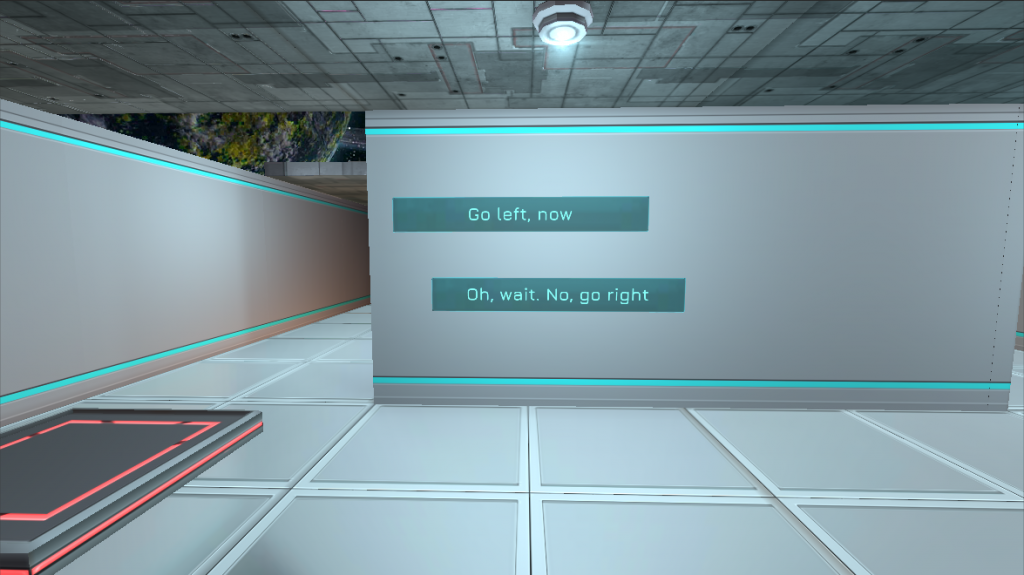
In this area, you will have 3 main steps described below. They can be performed in any order.

9.1) ACTIVATE | SMASHERS

You need to activate the Smashers. If you can’t find how to do this, check Spoiler below:

Spoiler:

  • Go left, and then reach outside, turning to the left at where the moving platform is, you will reach outside:
  • Then, shoot at the switch from this location – this will activate the Smashers:


9.2) GET | BOX

Now that Smashers are activated, you’ll need to get the box and drop it on a pressure plate. Details in the Spoiler below:

Spoiler:

  1. Reach the Smashers by backtracking and “Go RIght” this time. You can also go through the newly active vertical moving platform as a shortcut.
  2. Get passed the first Smasher
  3. The second Smasher (the farthest one) has a button at the top! Shoot it:
  • Now that you have activated the vertical moving platform, you can reach the box and drop it on the pressure plate
  • Can’t find the pressure plate? Check the next section!


9.3) OPEN | DOOR

Now that you have the box and Smashers are active, you’ll need to open the door by dropping the box onto the required pressure plate.

Can’t find the pressure plate? Check the Spoiler below!

Spoiler:

  • The pressure plate is located at the entrance, next to the “Go Left, Go Right” messages:
  • After dropping the box on this pressure plate, the door finally opens
  • You can now use the vertical moving platform to jump on the first Smasher:
  • Then, from the first smasher, you can jump to the second Smasher and go through the door.


SELECT | CHAPTER